Mastering the Art of Bread Making: Perfect Dough Preparation
ADVERTISEMENT
Mastering the Art of Bread Making: Perfect Dough Preparation
Introduction
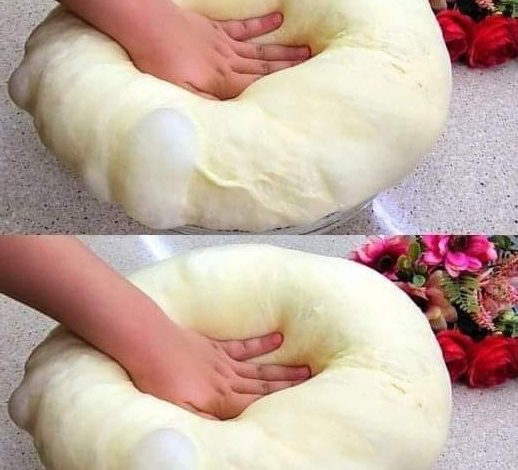
The image captures a beautiful moment in the bread-making process: a hand gently pressing into perfectly risen dough. This stage, known as the first rise or proofing, is crucial for developing the dough’s structure and flavor. In this article, we’ll delve into the art of bread making, focusing on dough preparation, rising, and tips for achieving the perfect loaf.
Ingredients for Basic Bread Dough
- 4 cups all-purpose flour or bread flour
- 1 packet (2 1/4 teaspoons) active dry yeast
- 1 1/2 teaspoons salt
- 1 1/2 cups warm water (110°F/45°C)
- 2 tablespoons sugar or honey
- 2 tablespoons olive oil or melted butter
Instructions
1. Activating the Yeast:
- In a small bowl, combine warm water and sugar or honey. Stir until dissolved.
- Sprinkle the active dry yeast over the water mixture. Let it sit for about 5-10 minutes until it becomes frothy. This indicates that the yeast is active.
2. Mixing the Dough:
- In a large mixing bowl, combine the flour and salt. Make a well in the center.
- Pour the yeast mixture and olive oil or melted butter into the well.
- Gradually mix the flour into the liquid using a wooden spoon or a dough scraper until a shaggy dough forms.
3. Kneading the Dough:
- Turn the dough out onto a lightly floured surface.
- Knead the dough by pressing it with the heel of your hand, folding it over, and rotating it. Continue kneading for about 8-10 minutes until the dough is smooth and elastic. If the dough is too sticky, add a little more flour as needed.
4. First Rise (Proofing):
- Shape the dough into a ball and place it in a lightly greased bowl, turning it once to coat the surface with oil.
- Cover the bowl with a clean kitchen towel or plastic wrap.
- Let the dough rise in a warm, draft-free place for about 1-2 hours, or until it has doubled in size. This is the stage shown in the image, where the dough is light, airy, and ready for the next step.
5. Punching Down the Dough:
ADVERTISEMENT
- Gently punch down the risen dough to release excess gas. This helps to redistribute the yeast and prepare the dough for shaping.
- Turn the dough out onto a lightly floured surface and knead it briefly to remove air bubbles.
6. Shaping the Dough:
- Shape the dough into a loaf or desired form (e.g., round boule, baguette, or rolls).
- Place the shaped dough on a greased or parchment-lined baking sheet or in a greased loaf pan.
7. Second Rise:
- Cover the shaped dough with a kitchen towel and let it rise again in a warm place for about 30-45 minutes, or until it has doubled in size.
8. Baking the Bread:
- Preheat your oven to 375°F (190°C).
- For a golden crust, brush the top of the dough with a little water or an egg wash (1 beaten egg with 1 tablespoon of water).
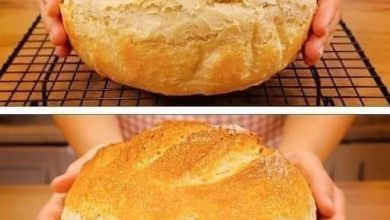
- Bake the bread in the preheated oven for about 25-30 minutes, or until the loaf sounds hollow when tapped on the bottom and is golden brown.
9. Cooling:
- Remove the bread from the oven and let it cool on a wire rack before slicing. Cooling allows the bread to finish cooking and helps achieve the desired texture.
Tips for Perfect Bread
- Temperature Control: Ensure the water is warm but not hot to the touch (around 110°F/45°C) to activate the yeast without killing it.
- Kneading: Proper kneading develops gluten, which gives the bread its structure and chewiness.
- Proofing: Allow the dough to rise in a warm, draft-free environment. An oven with the light on or a microwave with a bowl of hot water inside can create an ideal proofing environment.
- Hydration: The dough should be slightly sticky but manageable. Adjust flour and water as needed to achieve the right consistency.
Conclusion
Mastering the art of bread making is a rewarding experience that combines technique, patience, and a touch of creativity. The image of perfectly risen dough is a testament to the beauty of this culinary craft. By following the steps outlined above and paying attention to the details, you can create delicious, homemade bread that rivals that of any bakery.
ADVERTISEMENT
Enjoy the process of making bread and the delightful aroma that fills your home. Happy baking